5 steps to create your first campaign
Babylon Traffic is an all-in-one tool that helps you send traffic to the websites of your choice.
Here is a small tutorial on how to create your first personal campaign to automate visits to your website:
Step 1
First, you have to create a new project for your website. For this, in the tab My Projects, click on the link Create a Project, write the name of your project, and validate the form!


Step 2
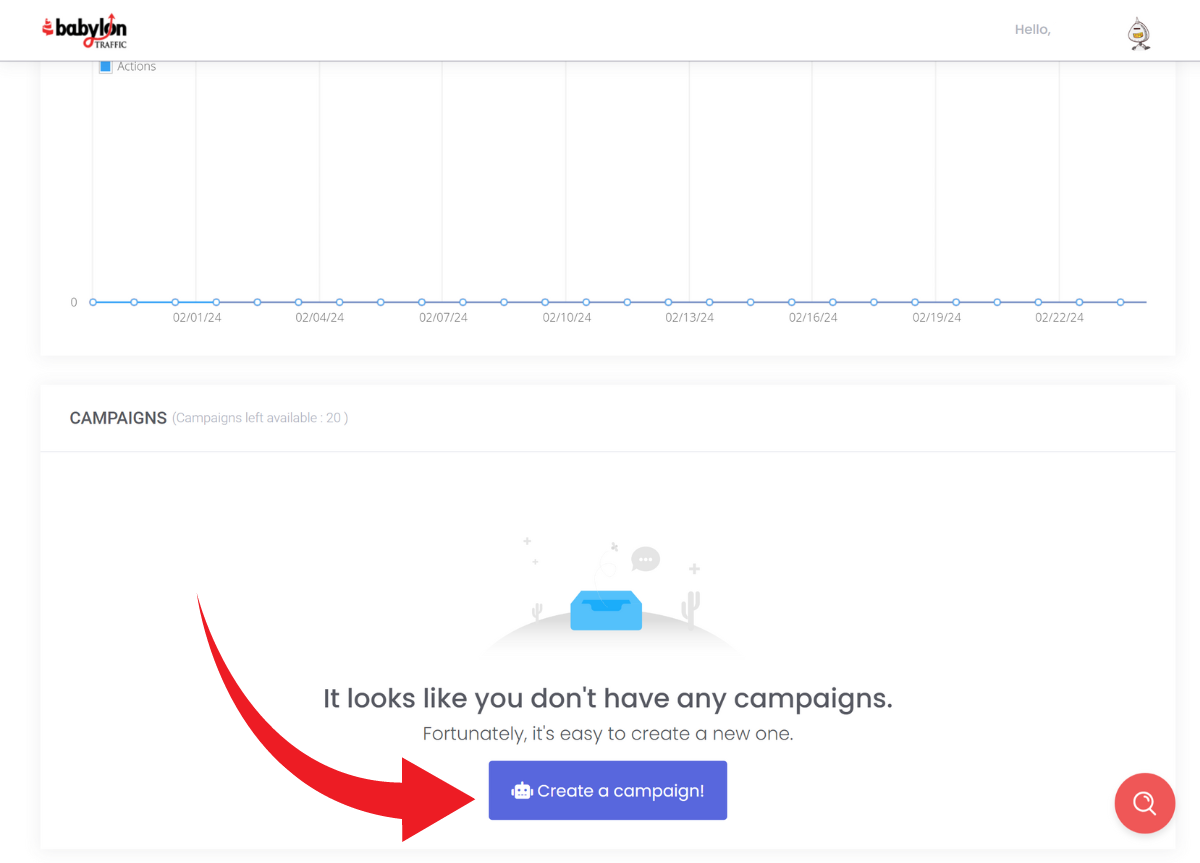
Now that your project is ready, it's time to create your first campaign.
Simply click on Create A Campaign!, and fill the form with the correct information:
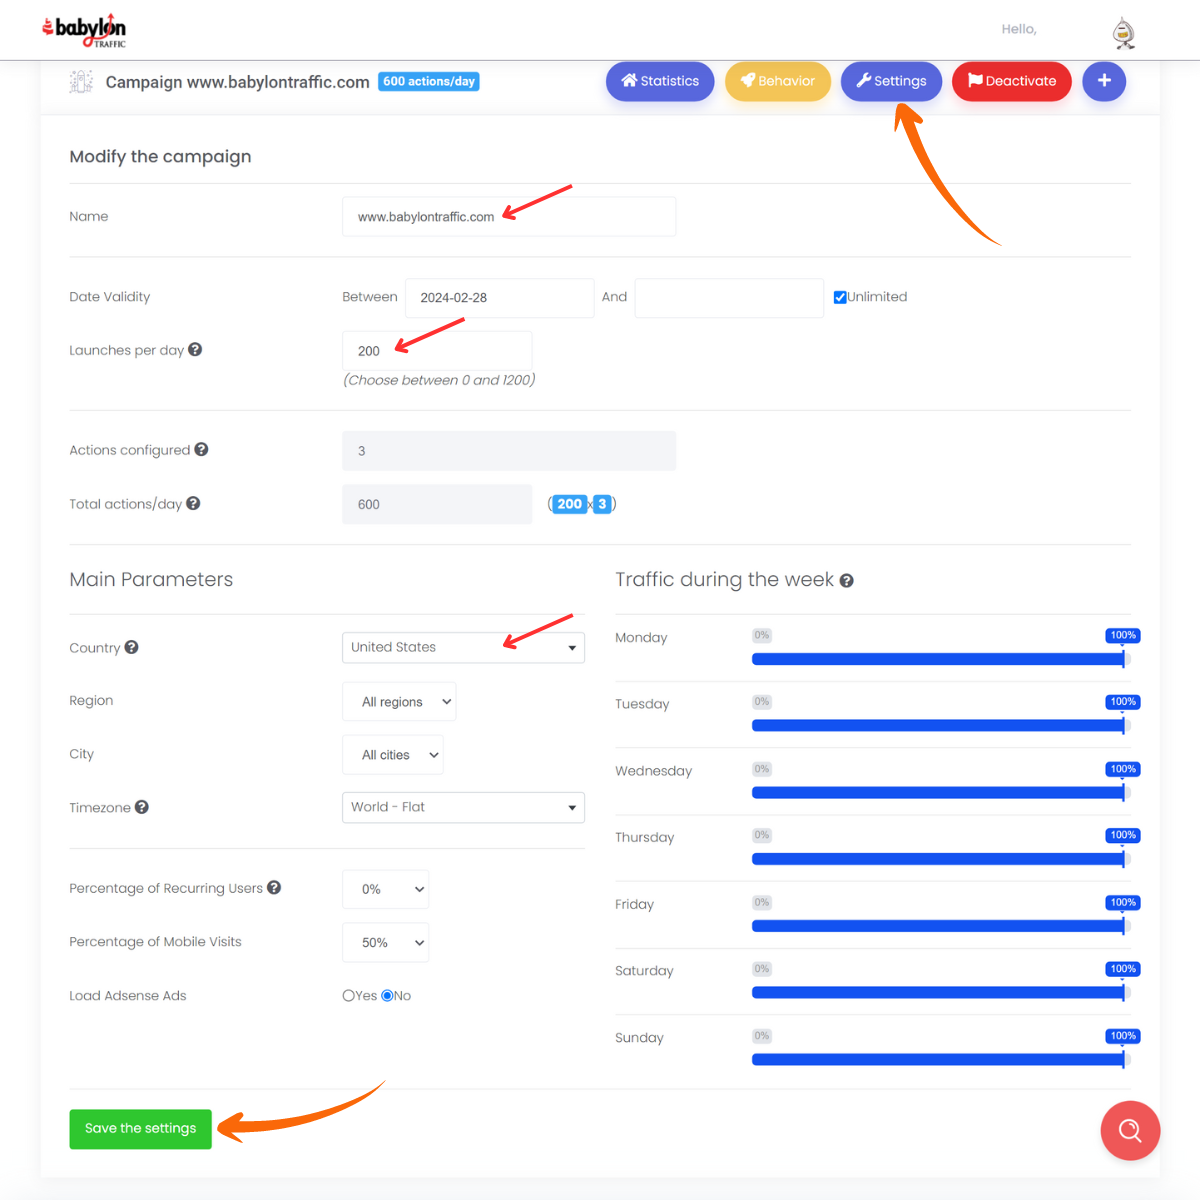
Name of your campaign, Which day it should start or stop automatically, Which country you want to target (if any), Number of visits you want every day (here we will set for 200 visits per day as an example), etc.
Step 3
Good job! Your campaign has been created. It's time to make it do what you want. Why not simply go on your own website, and click on a random link?
First, you should indicate what the startup page of the campaign will be. In this case, it will be your website. So just click on Edit on the first and unique step, and fill the form with your website URL. Don't forget the http:// !
Then, let's create a new step. For this, click on the " +" button to add a new step.

We are going to ask the system to wait for a few seconds on the page. Select the action Wait and put the timeframe you want between 0 and 59 sec. Here you go, you have your second action!

We are now going to click on a link, so select the action Click Link in the list. And for the URL, as we want our campaign to click randomly on a link, let's use the regular expression ".*" which means all links.
So let's fill the form with this, and click on Add this new step.
And there you are, you have your third action ready!

Step 4
To verify that the behavior of our campaign is correct, let's click on Test This Campaign Now!.
The launch of the campaign will begin directly after this, and after a little time, you should see the result.
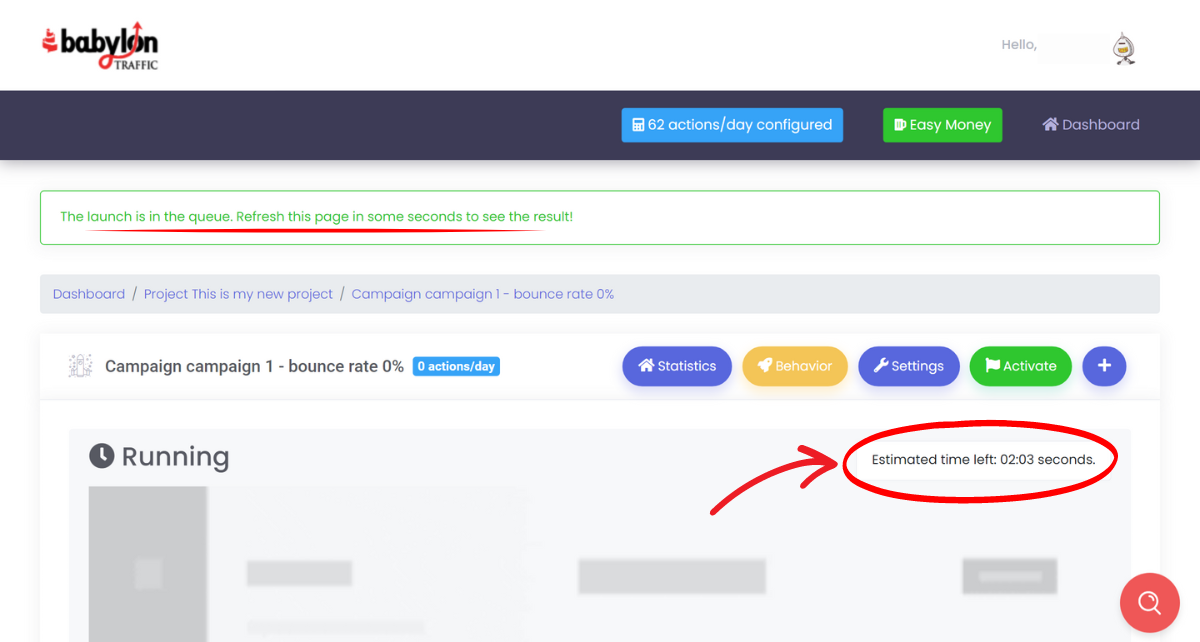


Is it what you wanted?
Step 5
If your campaign has finally the right behavior, you can now activate it, pressing the button Activate. Your campaign will now be launched the number of times that you set at the beginning of these instructions! Come back after a few days, you will see all the nice statistics you have!
While you set your campaign, the option will be "activated" by default. If you wish for the system to wait before you are finished setting it up, you may "deactivate" it. But don't forget to reactivate once ready !!

